
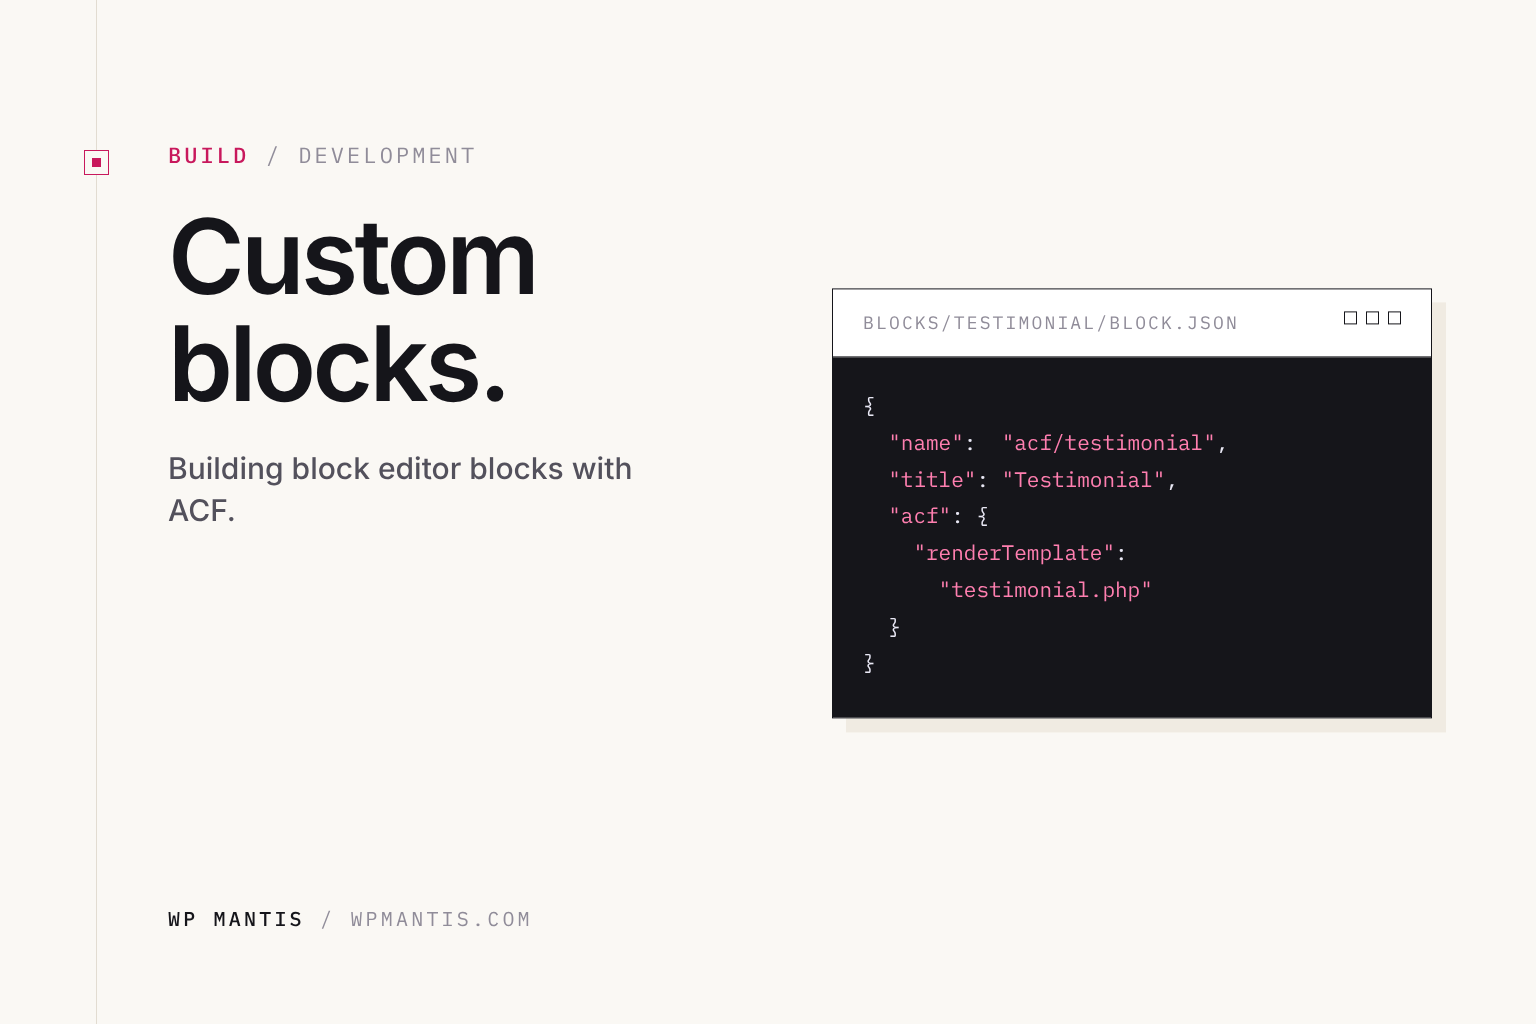
Custom blocks let you give a site’s editors exactly the pieces they need, like a team member card, a pricing table or a testimonial, with simple fields to fill in and a design they can’t accidentally break. You don’t need to learn React to build them. We build ours with Advanced Custom Fields (ACF) Pro, which lets you write blocks in PHP.
When a custom block is worth it
- The same layout appears on many pages, and it should look identical every time.
- Non-technical editors need to update content without touching layout.
- The content is structured: a name, a photo, a title and a bio, not free-form text.
For one-off layouts, core blocks or GenerateBlocks are usually faster. Custom blocks pay off when something repeats.
How ACF blocks work
An ACF block has three parts: a block.json file that registers it, a field group that defines what editors fill in, and a PHP template that outputs the HTML. Everything lives in your child theme or a small plugin, so it’s under your control and travels with the site.
Building one: a team member card
1. Register the block
Create a folder like blocks/team-member/ in your child theme and add block.json:
{
  "name": "acf/team-member",
  "title": "Team Member",
  "category": "theme",
  "icon": "admin-users",
  "acf": {
    "mode": "preview",
    "renderTemplate": "render.php"
  },
  "supports": { "align": false }
}
Then register it in your child theme’s functions.php:
add_action( 'init', function () {
    register_block_type( get_stylesheet_directory() . '/blocks/team-member' );
} );
2. Add the fields
In ACF → Field Groups, create a group with the fields: Photo (image), Name (text), Title (text) and Bio (textarea). Under Location Rules, choose Block is equal to Team Member.
3. Write the template
Create render.php in the same folder:
<?php
$photo = get_field( 'photo' );
$name  = get_field( 'name' );
$title = get_field( 'title' );
$bio   = get_field( 'bio' );
?>
<div class="team-member">
    <?php if ( $photo ) : ?>
        <?php echo wp_get_attachment_image( $photo['ID'], 'medium' ); ?>
    <?php endif; ?>
    <h3><?php echo esc_html( $name ); ?></h3>
    <p class="team-member__title"><?php echo esc_html( $title ); ?></p>
    <p><?php echo esc_html( $bio ); ?></p>
</div>
Add a little CSS to your child theme for the .team-member class, and the block is ready. Editors insert “Team Member” from the block inserter and fill in four fields.
Tips from building these for clients
- Always escape output (
esc_html,esc_url) in templates. - Keep each block’s CSS in its folder and load it only when the block is used.
- If the same data appears in several places, like staff on a team page and on service pages, use a custom post type instead and display it with a query. Blocks are for content that lives on one page.
- Give blocks clear names and icons, so editors find them easily.
Want blocks built for your team?
Custom blocks and post types are part of how we build every site on a Growth Plan. For a one-off build, see custom development.